
-
Table of Contents
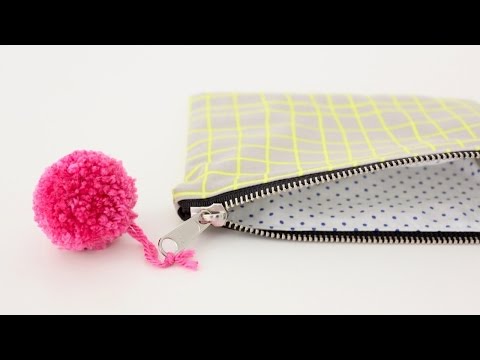
Tutorial: Zipper Pouch with Liner
Zipper pouches are versatile and practical accessories that can be used for a variety of purposes, from storing makeup and toiletries to organizing school supplies or travel essentials. Adding a liner to a zipper pouch not only enhances its durability but also gives it a professional finish. In this tutorial, we will guide you through the steps to create a zipper pouch with a liner.
Materials Needed:
- Outer fabric
- Lining fabric
- Zipper
- Thread
- Scissors
- Sewing machine
- Pins
- Iron
Step 1: Cutting the Fabrics
Start by cutting two pieces of fabric for the outer shell and two pieces for the lining. The dimensions of the fabric will depend on the size of the pouch you want to make. Make sure to leave seam allowances on all sides.
Step 2: Attaching the Zipper
Place one piece of outer fabric right side up, then place the zipper right side down along the top edge.
. Place one piece of lining fabric right side down on top of the zipper. Pin all layers together and sew along the edge using a zipper foot on your sewing machine.
Step 3: Repeat for the Other Side
Repeat the same process for the other side of the zipper, with the remaining pieces of outer and lining fabric. Make sure to align the edges and sew along the zipper.
Step 4: Sewing the Sides
Open up the pouch and fold it so that the outer fabrics are right sides together and the lining fabrics are right sides together. Sew along the sides, leaving a small opening on the lining side for turning the pouch inside out.
Step 5: Finishing Touches
Trim the excess fabric and corners, then turn the pouch inside out through the opening in the lining. Press the pouch with an iron to give it a crisp finish. Hand stitch the opening in the lining to close it.
Benefits of Adding a Liner to a Zipper Pouch
Adding a liner to a zipper pouch not only enhances its durability but also provides a clean and professional look. The liner helps to protect the outer fabric from wear and tear, making the pouch last longer. Additionally, a liner can add a pop of color or pattern to the pouch, making it more visually appealing.
Conclusion
Creating a zipper pouch with a liner is a fun and rewarding sewing project that can be customized to suit your style and needs. By following this tutorial, you can make a practical and stylish accessory that will be useful for organizing your belongings. So, grab your fabrics and zipper, and start sewing your own zipper pouch with a liner today!


