
-
Table of Contents
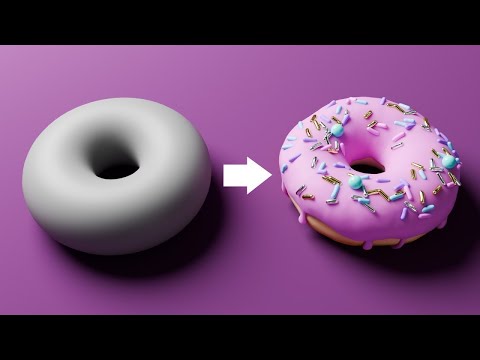
Blender Tutorial for Beginners
Blender is a powerful open-source 3D modeling and animation software that has gained popularity among beginners and professionals alike. If you are new to Blender and looking to get started, this tutorial will guide you through the basics and help you create your first project.
Getting Started with Blender
Before diving into the tutorial, make sure you have Blender installed on your computer. You can download the latest version of Blender for free from the official website here. Once you have installed Blender, launch the software and you are ready to begin.
Interface Overview
Blender’s interface may seem overwhelming at first, but once you understand the basics, you will find it intuitive to navigate. Here are some key elements of the Blender interface:
- Viewport: This is where you will see your 3D scene.
- Tool Shelf: Contains tools for modeling, sculpting, and more.
- Properties Panel: Allows you to adjust object properties and settings.
- Timeline: Used for animation and keyframe editing.
Basic Modeling in Blender
One of the fundamental aspects of Blender is modeling.
. To create a simple object, follow these steps:
- Select the default cube in the viewport.
- Press “Tab” to enter Edit Mode.
- Use the “G,” “R,” and “S” keys to move, rotate, and scale the cube.
- Press “Tab” again to exit Edit Mode.
Adding Materials and Textures
Materials and textures bring your 3D models to life. To add a material to your object, follow these steps:
- Go to the Materials tab in the Properties Panel.
- Click on the “New” button to create a new material.
- Adjust the material properties such as color, roughness, and metallicness.
Rendering Your Scene
Once you have modeled your object and added materials, it’s time to render your scene. Blender has a powerful rendering engine called Cycles that produces realistic results. To render your scene, follow these steps:
- Go to the Render tab in the Properties Panel.
- Click on the “Render Image” button to render your scene.
- Adjust the render settings such as resolution and samples for better quality.
Conclusion
Blender is a versatile software that offers endless possibilities for 3D modeling and animation. By following this tutorial, you have learned the basics of Blender and created your first project. As you continue to explore Blender, remember to experiment with different tools and techniques to unleash your creativity.
Now that you have a solid foundation in Blender, you can explore more advanced tutorials and resources to further enhance your skills. Happy blending!


