-
Table of Contents
How to Install Java
Java is a widely-used programming language that is essential for many applications and software development. Whether you are a beginner or an experienced developer, knowing how to install Java is a crucial step in getting started with Java programming. In this article, we will guide you through the process of installing Java on your computer.
Step 1: Check if Java is Already Installed
Before you begin the installation process, it is important to check if Java is already installed on your computer. You can do this by opening a command prompt or terminal window and typing the following command:
java -version
If Java is installed, you will see the version number displayed. If Java is not installed, you will need to proceed with the installation process.
Step 2: Download Java
The next step is to download the Java Development Kit (JDK) from the official Oracle website.
. You can download the JDK from here. Make sure to select the appropriate version for your operating system (Windows, macOS, or Linux).
Step 3: Install Java
Once you have downloaded the JDK, follow these steps to install Java on your computer:
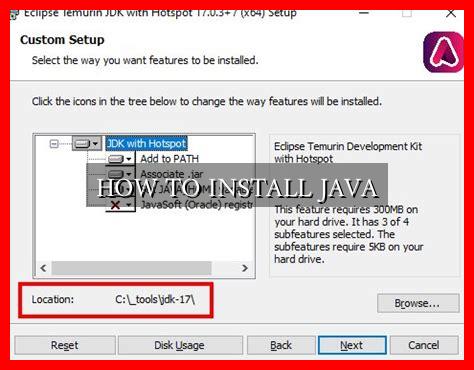
- Double-click on the downloaded JDK file to start the installation process.
- Follow the on-screen instructions to complete the installation.
- After the installation is complete, you can verify that Java is installed by typing
java -versionin the command prompt or terminal window.
Step 4: Set Java Environment Variables
After installing Java, you may need to set the Java environment variables to ensure that Java is properly configured on your system. Here’s how you can do it:
- Open the Control Panel on Windows or System Preferences on macOS.
- Go to System and Security (Windows) or System and Preferences (macOS).
- Click on System.
- Click on Advanced system settings.
- Click on Environment Variables.
- Under System Variables, click New and add the following variables:
- Variable name: JAVA_HOME
- Variable value: C:Program FilesJavajdk-11 (for Windows) or /Library/Java/JavaVirtualMachines/jdk-11.jdk/Contents/Home (for macOS)
Step 5: Test Java Installation
Finally, you can test if Java is installed correctly by writing a simple Java program and running it. Here’s an example of a simple Java program:
“`java
public class HelloWorld {
public static void main(String[] args) {
System.out.println(“Hello, World!”);
}
}
“`
Save the above code in a file named HelloWorld.java and compile it using the following command:
javac HelloWorld.java
Run the compiled program using the following command:
java HelloWorld
If you see the output Hello, World!, then Java has been successfully installed on your computer.
Summary
In conclusion, installing Java is a straightforward process that involves downloading the JDK, installing it on your computer, setting the Java environment variables, and testing the installation with a simple Java program. By following the steps outlined in this article, you can easily install Java and start developing Java applications. Remember to regularly update Java to the latest version to ensure optimal performance and security.


